Note: These instructions apply to Outlook 2019, 2016, 2013 or 2010; Outlook for Mac 2016 or Outlook for Mac 2011; and Outlook Online.
Troubleshoot Outlook Not Receiving Emails in Outlook 2019, 2016, 2013 or 2010
First, make sure you are connected to the internet Once you have confirmed your connection, make sure you are working online in Outlook.
- Look at the lower-right corner of the Outlook window. If it says Disconnected, Working Offline, or Trying to connect, you are not connected to your email server.
- Click the Send/Receive tab on the ribbon.
- Click Work Offline in the Preferences group. You should now see Connected to Server in the lower-right corner of the window.
- Click the Send/Receive All Folders button in the Send & Receive group.
- Check to see if the message is now in the Sent folder or still in the outbox.
CHECK OTHER LOCATIONS FOR YOUR EMAIL MESSAGES
It is possible that emails are in your junk folder In addition, you might have inadvertently downloaded them on another device, such as your phone or your work computer.
CREATE A NEW PROFILE
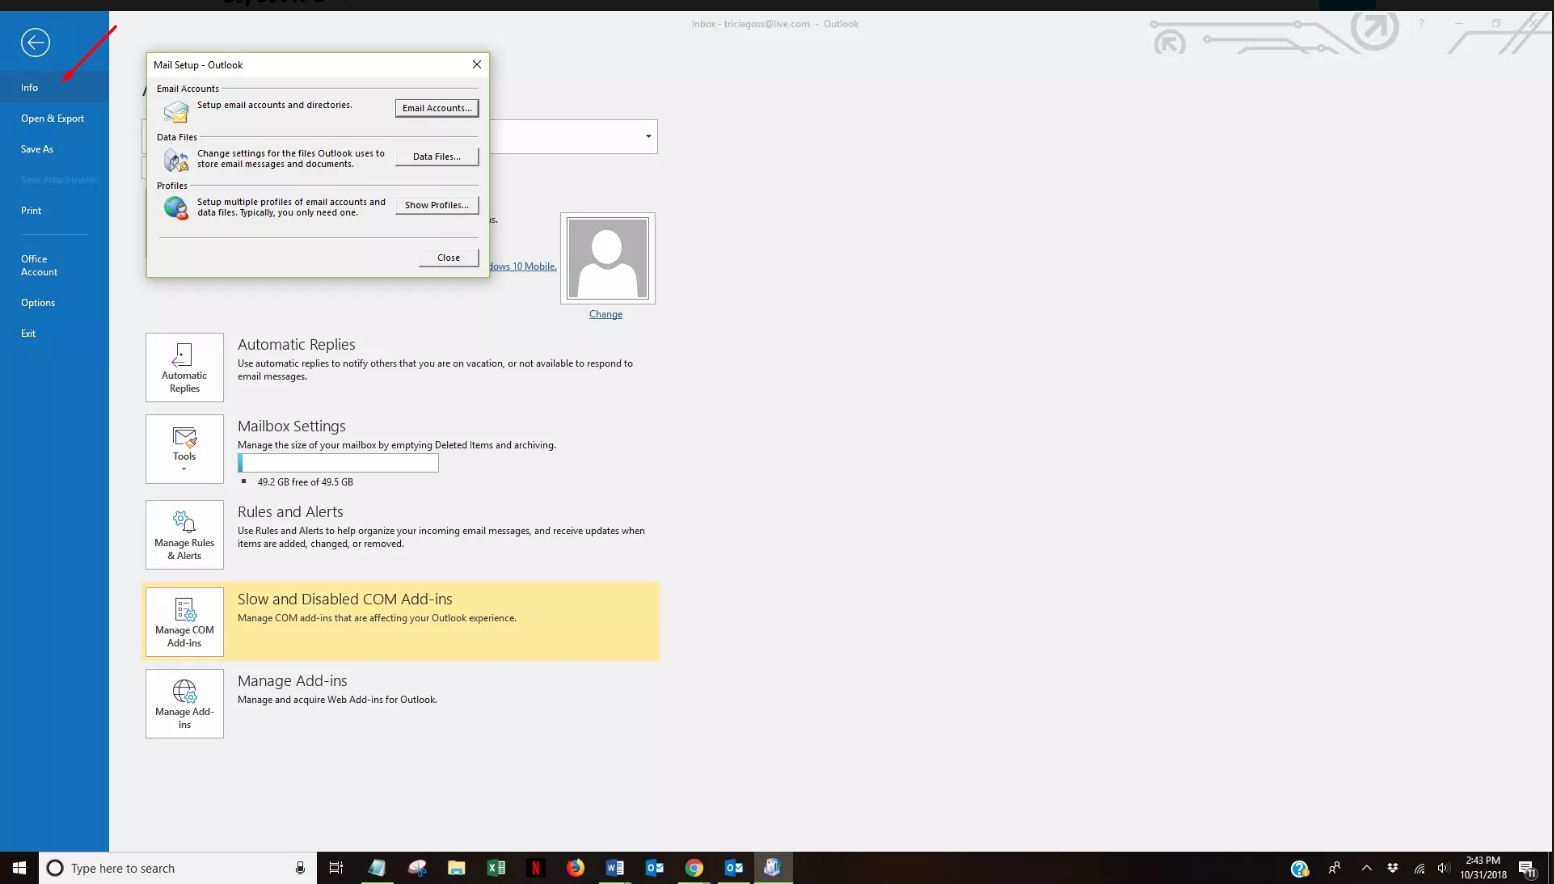
- Click File.
- Click Account Settings.
- Choose Manage Profiles from the drop-down list.
- Click Show Profiles.
- Click Add.
- Type a name for the new profile in the Profile Name box and click OK.
- Follow the prompts to set up your email account in the new profile.
- Restart Outlook.
- Click File.
- Click Account Settings.
- Choose Change Profile from the drop-down list.
- Click OK on the Outlook Will Close message.
- Restart Outlook.
- Choose the name of the new profile you created in the Profile Name list and click OK.
Troubleshoot Outlook Not Receiving Emails in Outlook for Mac 2016 or Outlook for Mac 2011
First, make sure you are connected to the internet. Once you have confirmed your connection, make sure you are working online in Outlook.
- Go to the Outlook menu.
- Check to see if Work Offline is selected.
- Click Work Offline to remove the check mark and work online.
If your email service requires authentication and your settings are not correct, you will not receive emails.
- Start Outlook.
- Go to the Tools menu and click Accounts.
- Select the email account in the left pane of the Accounts box.
- Click More Options under Outgoing Server.
- Choose the authentication type on the pop-up menu that appears.
- Follow the prompts to enter your credentials.
EMPTY YOUR INBOX
- Delete any unwanted email messages from the inbox.
- Right-click Junk Mail and click Empty.
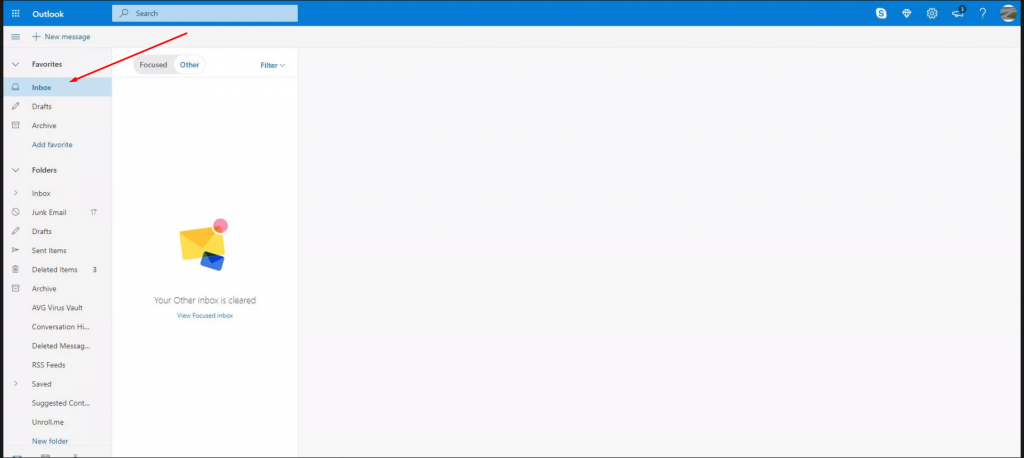
Outlook.com divides email messages into two tabs: Focused and Other. Some emails you are expecting could have been filtered to the Other tab. Click on the tab to see if any messages appear.
If you have created any rules, it is possible that your emails are being routed away from your inbox or even deleted.
- Click the Settings button.
- Select View Full Settings.
- Click Mail in the left pane.
- Choose Rules in the right pane.
- Find any rules that are preventing you from receiving or viewing emails.
- Select a rule you want to change and click Edit.
- Change the actions of the rule and click Save.
- Delete a rule by selecting the rule and clicking Delete.
- Click the Settings button.
- Click Options.
- Click Inbox and Sweep Rules on the left side of the screen.
- Find any rules that are preventing you from receiving or viewing emails.
- Select a rule you want to change and click Edit.
- Change the actions of the rule and click Save.
- Delete a rule by selecting the rule and clicking Delete.
Similarly, you might have set up email forwarding and forgotten or expected it to expire. You can check these settings and turn them off, if necessary.
- Click the Settings button.
- Select View All Outlook Settings.
- Click Mail in the left pane.
- Choose Forwarding in the right pane.
- Select Stop Forwarding and click Save.
- Click the Settings button.
- Click Options.
- Select Forwarding in the left pane.
- Select Stop Forwarding and click Save.
If you have previously forwarded another account to your Outlook.com email but are no longer receiving those emails, check to see whether the forwarding has expired or is not properly set up.