From permissions problems to PHP issues, there are many types of errors that can occur in WordPress. These can be difficult to diagnose on your site, particularly if you don’t have a technical background.
To simplify the process for monitoring and diagnosing these errors, you can set up WordPress error logs in your wp-config file. The wp-config.php file is a core WordPress file that contains your website’s base configuration details. This information allows WordPress to connect to your database, generate authentication keys that keep your site secure, and more.
By adding a few lines of code, you turn your wp-config.php file into a debugging tool that automatically finds and logs errors on your site. In the error logs, you can identify the plugin, script, or code that is causing errors. You can then troubleshoot these issues yourself or reach out to WordPress support.
Monitoring your site in this way can help you identify and resolve issues before they disrupt your data transfer capacity, negatively impact the visitor experience, or cause downtime.
To help you keep your site running smoothly, let’s walk through the process of setting up error logs in your wp-config file.
How to Set up WordPress Error Logs in WP-Config File
To set up WordPress error logs in your wp-config.php file, you just need to add a few lines of code to the file.
It’s a simple process, but as a best practice, you should always make a copy of your wp-config.php file before editing. That’s because even a small error in the file can make your site inaccessible.
Here’s a quick video you can watch to follow along with the steps below.
To start, log in to your control panel and open the File Manager. Locate the wp-config.php file and right-click to copy it. Rename the file wp-config.php.backup.
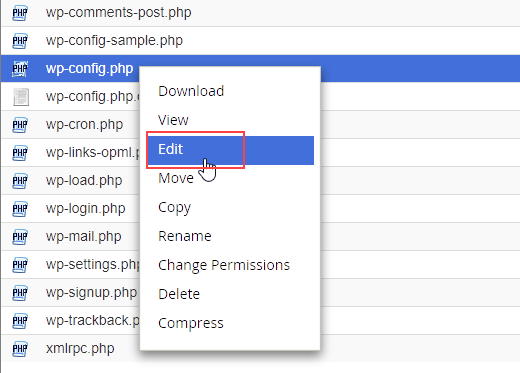
Now that you have a backup, right-click the original wp-config.php file. Click the Edit option.
If you do, delete it then copy and paste the following lines of code:
define( ‘WP_DEBUG’, true );
define( ‘WP_DEBUG_LOG’, true );
define( ‘WP_DEBUG_DISPLAY’, false );
@ini_set( ‘display_errors’, 0 );
Save your changes. Your site’s “debug mode” will now be turned on and all errors will be saved to a debug.log log file inside your /wp-content/ directory.
Errors and warnings will also be hidden on the front end of your site. By hiding these error and warning messages from your visitors, you’ll help ensure they have a seamless experience on your site.
Reviewing Your WordPress Error Logs
To review your error logs, navigate to your /wp-content/ folder in your File Manager. Locate the debug.log file.
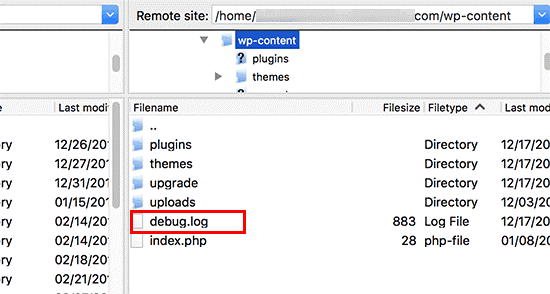
This file will contain all WordPress errors, warnings, and notices that were logged. Note that you will only see this file if your site has encountered any errors.

At this point, you can attempt to fix the problem(s) on your own since the WordPress log can help you understand what’s causing the error by naming the element at fault. You can also reach out to WordPress support for help. Make sure to share the text from the error log, which will help the support rep understand the problem and provide you with a solution.