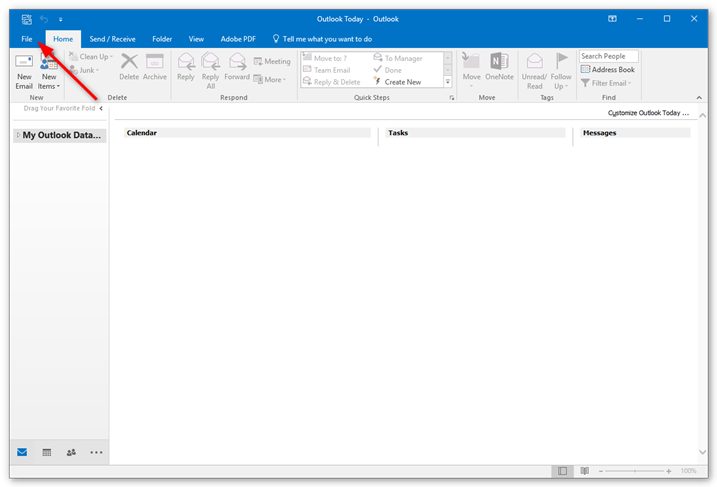
Step 1 – Open Outlook and click File
- Open Outlook on your computer and click File in the top left corner.
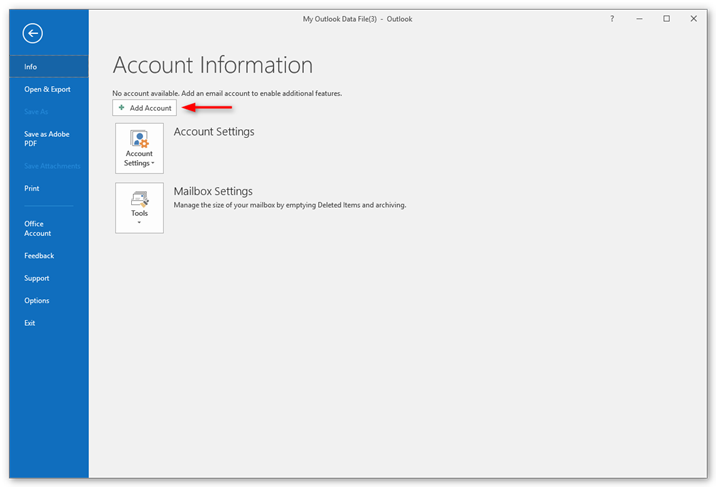
Step 2 – Click Add account
- Click Add Account to start setup.
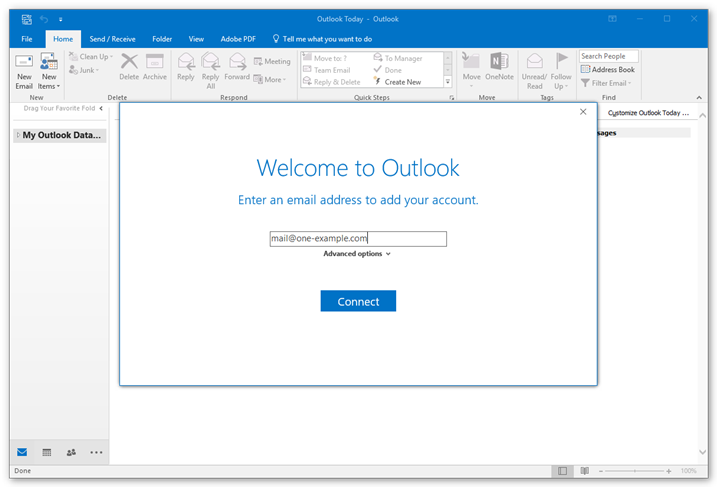
Step 3 – Type in your email address
- Type in the email address you want to add and click Connect.
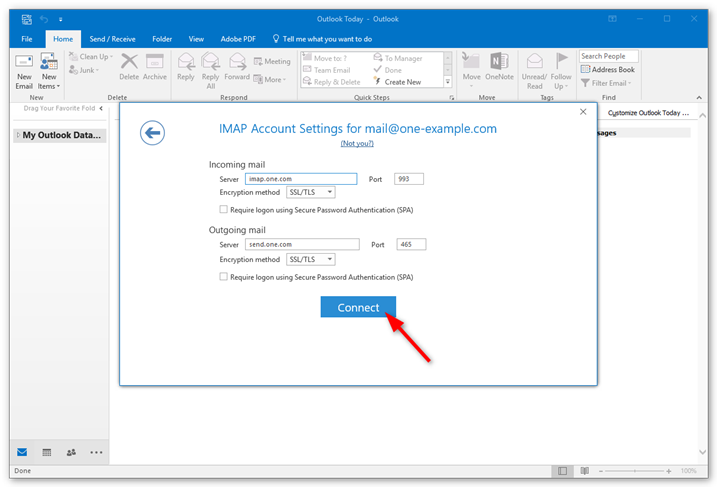
Step 4 – Connect your account
- Outlook will automatically detect the right server settings, click Connect to continue.
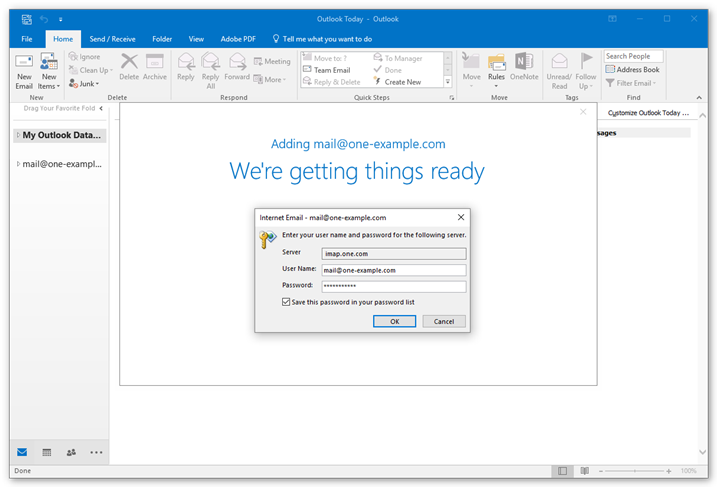
Step 5 – Enter your password
- Type in your password, it is the password that you also use to login to Webmail. Click OK to continue.
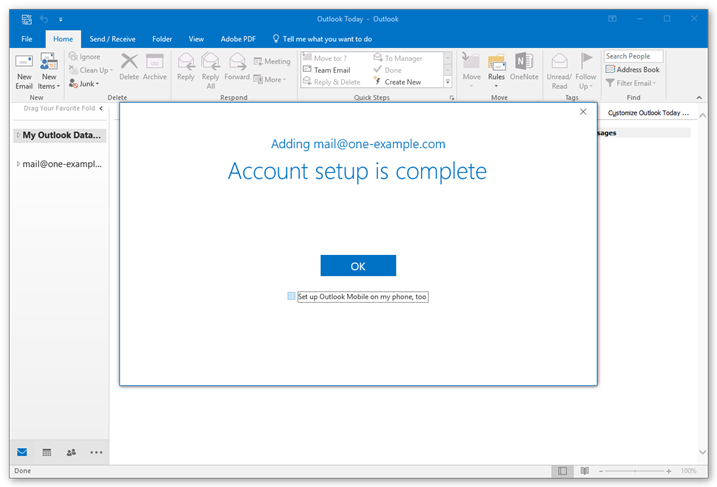
Step 6 – Close automatic setup
- Click OK to complete setup.
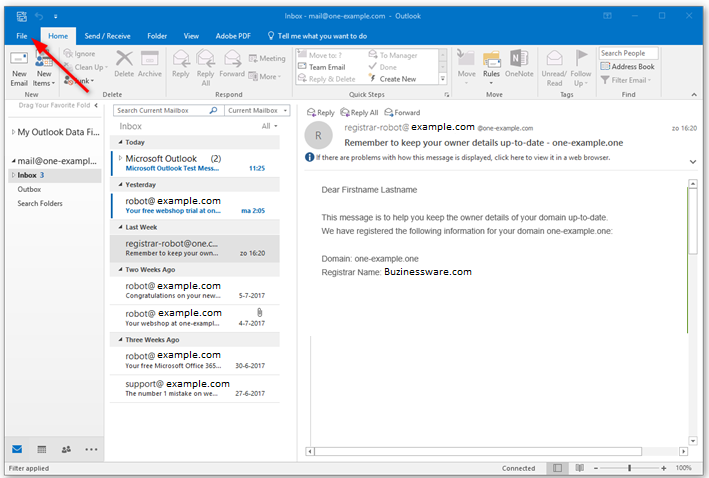
Step 7 – Click File again
Your email account is now set up, but you need to add an additional setting to make sure all emails are delivered to the correct folders.
- Click File again.
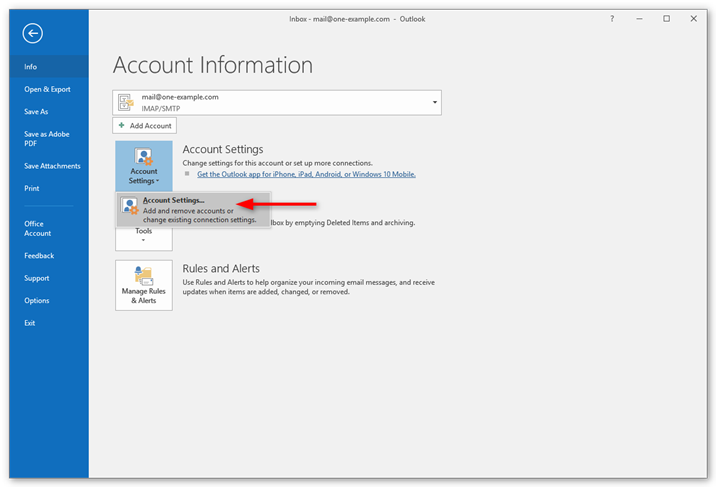
Step 8 – Click Account Settings
- Click Account Settings.
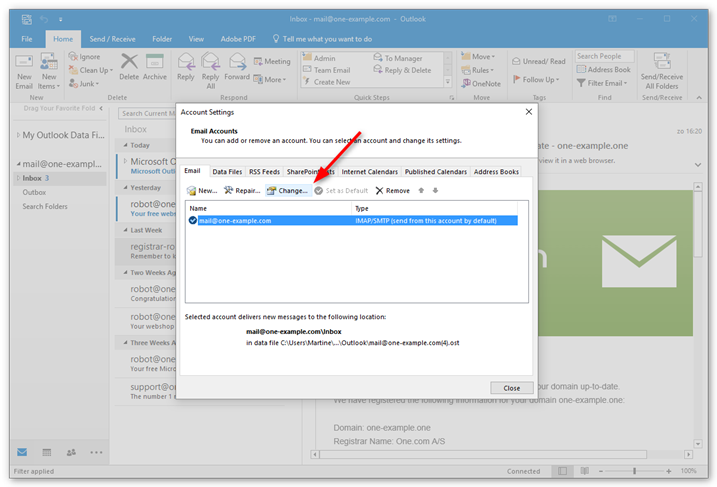
Step 9 – Click Change
- Select the account you just set up and click Change in the menu right above it.
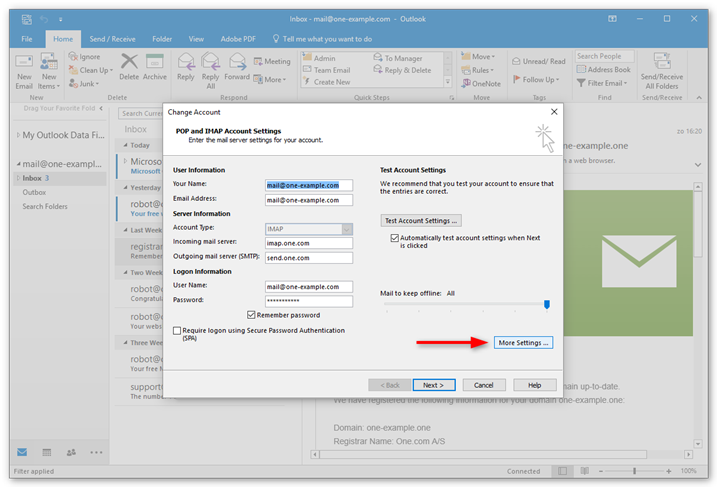
Step 10 – Click More Settings…
- Click More Settings… in the bottom right.
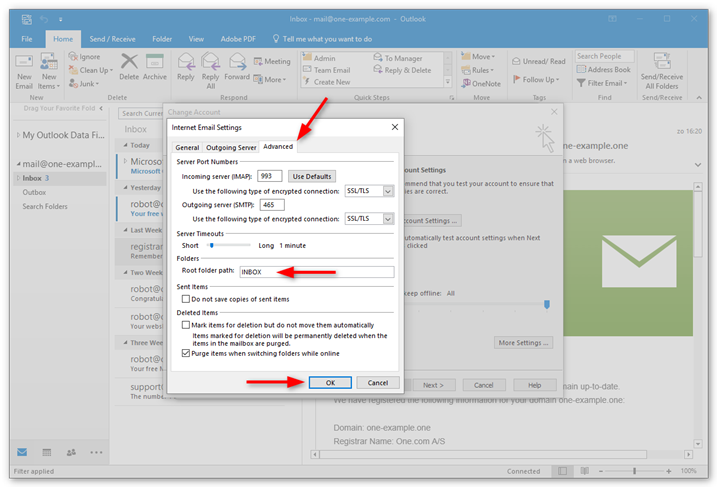
Step 11 – Set the Root folder path
- Click the Advanced tab.
- Type in INBOX as the Root folder path, all in capitals.
- Click OK to save your settings.
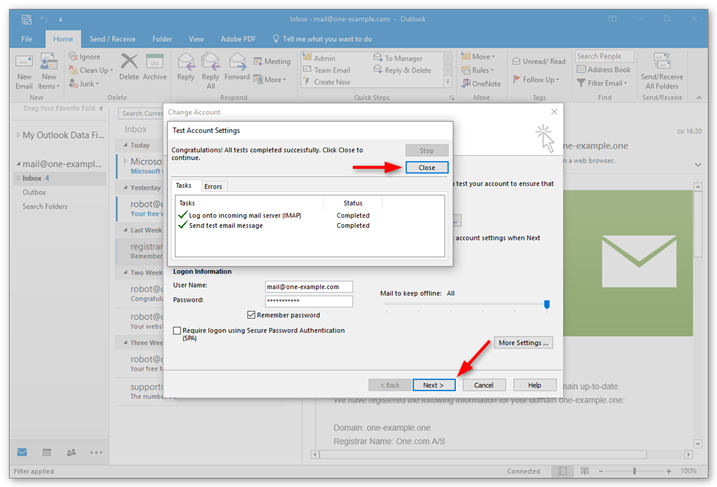
Step 12 – Test the account settings
- Click Next to continue.
- Outlook will now test your account settings by trying to send a test message. Click Close when the tests are completed.
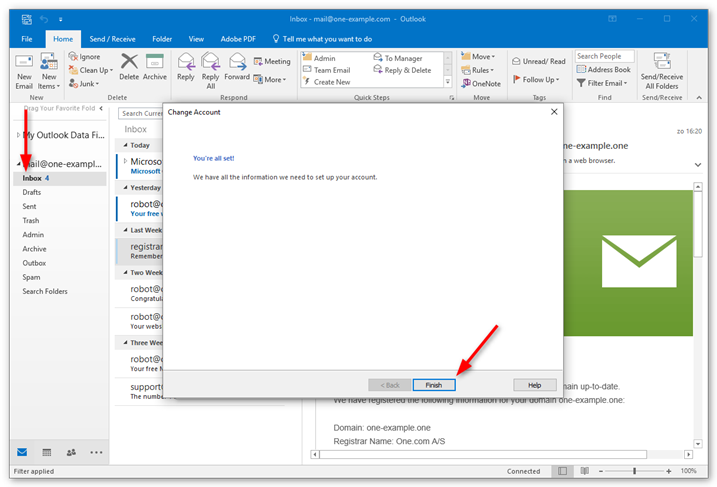
Step 13 – You are done!
- Click Finish to go to your inbox. You can now see that all folders are on the same level as your inbox.