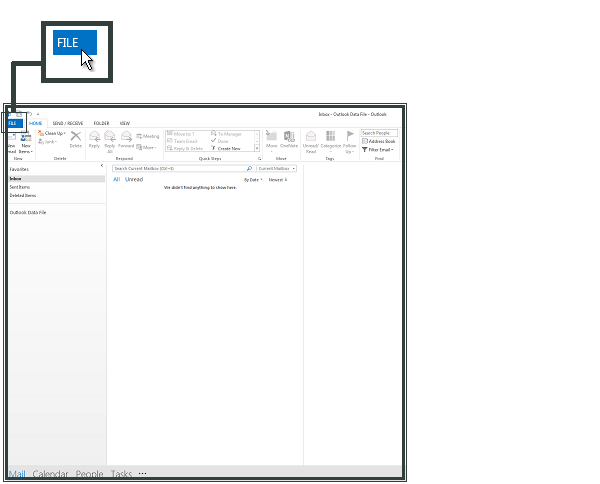
- Open Outlook and select File.
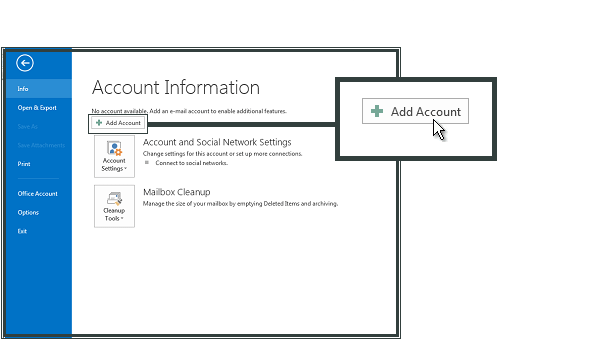
![Open Outlook and select File](https://onecomhelp.zendesk.com/hc/article_attachments/115010386389/outlook2013-select-file.png)
- Click Add Account.
![Click Add Account](https://onecomhelp.zendesk.com/hc/article_attachments/115010333285/outlook2013-click-ad-account.png)
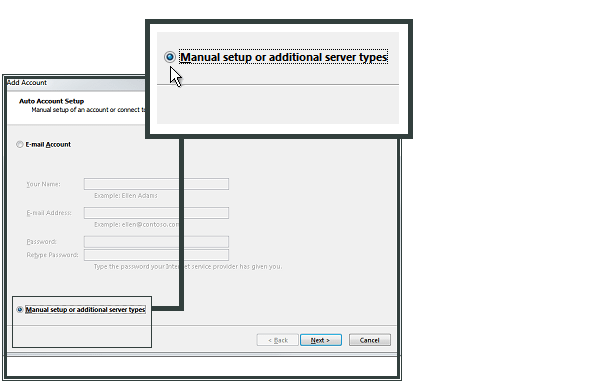
- Check Manual setup or additional server types and click Next.
![Check Manual setup](https://onecomhelp.zendesk.com/hc/article_attachments/115010386329/outlook2013-check-manual-setup.png)
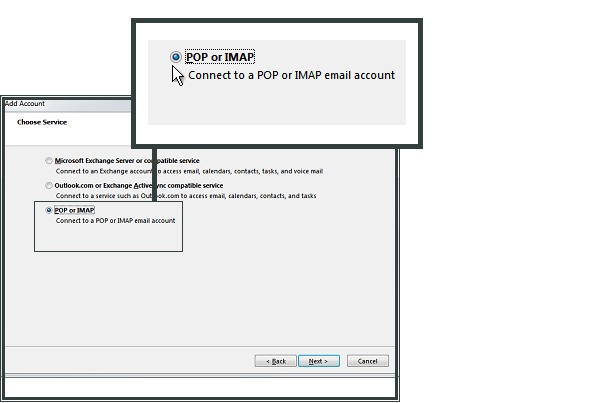
- Select POP or IMAP and click Next
![Select POP or IMAP](https://onecomhelp.zendesk.com/hc/article_attachments/115010386409/outlook2013-select-pop-or-imap.png)
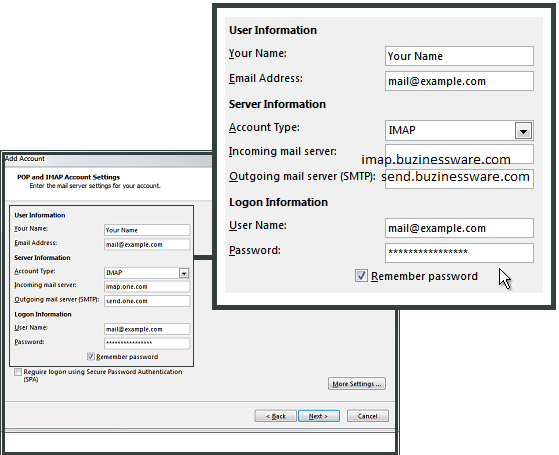
- Enter Your Name and E-mail Address.
- Select IMAP as your account type.
- For Incoming mail server (IMAP), enter imap.buzinessware.com.
- For Outgoing mail server (SMTP), enter send.buzinessware.com.
- In Logon Information enter the e-mail address and password that you created in the control panel.
- Click More Settings.
![](https://kb.buzinessware.com/wp-content/uploads/2019/02/image-300.png)
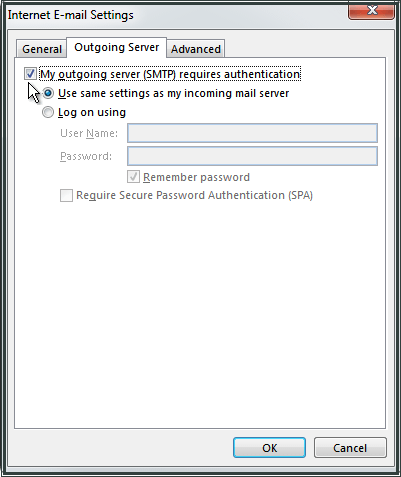
Select Outgoing Server and check My outgoing server (SMTP) requires authentication.
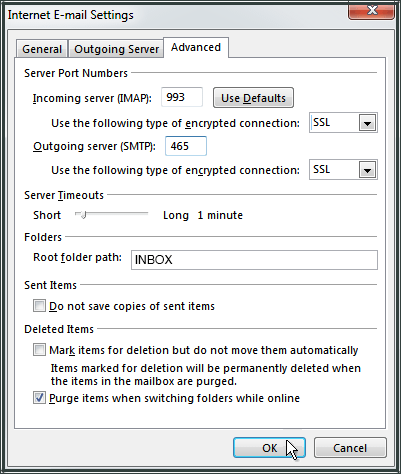
![Select Outgoing Server](https://onecomhelp.zendesk.com/hc/article_attachments/115010386369/outlook2013-select-outgoing-server.png)
- Select Advanced.
- For Incoming server (IMAP) enter 993 and select SSL.
- For Outgoing server (SMTP) enter 465 and select SSL.
- For Root folder path enter INBOX with uppercase letters.
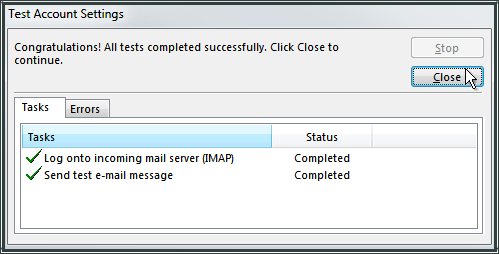
- Click OK and then Next.
![Select Advanced](https://onecomhelp.zendesk.com/hc/article_attachments/115010333345/outlook2013-select-advanced.png)
- lick Close.
![Click Close](https://onecomhelp.zendesk.com/hc/article_attachments/115010386349/outlook2013-click-close.png)
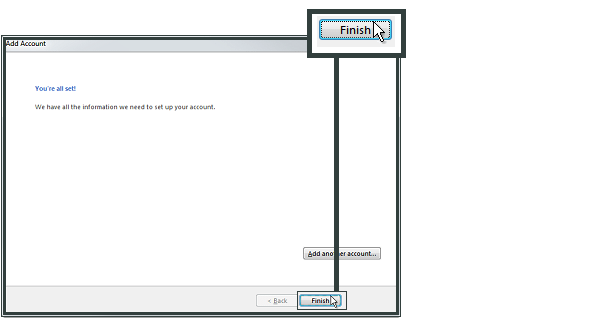
- You have now set up your account in Microsoft Outlook 2013. Click Finish.
![Click Finish](https://onecomhelp.zendesk.com/hc/article_attachments/115010333305/outlook2013-click-finish.png)