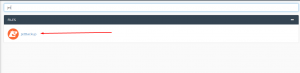
- JetBackup is accessed from within your accounts cPanel, in the JetBackup section.
After Entering jet backup you can check the section which you need to restore at your end.
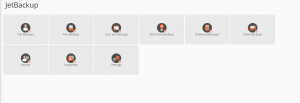
Getting Started
Download or Restore
As well as restoring files JetBackup also allows you to generate a download, that can then be saved to your local device.
Email notifications of completed tasks
To get email notifications when a JetBackup task has completed, click Settings and enter your email address, click Save Settings to finish.

Viewing the task queue
To view queued download or restore jobs click on Queue. Possible queue states are Completed, Failed, Cancelled, Pending, Processing.

Full account backup – download or restore
Click the Full Backups icon
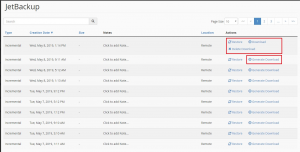
Full account backup – Download
Clicking Generate Download will produce a full backup file of your account ready for download. Once the file has been generated you will see the Download link in place of Generate Download. In the image above the top row has had a download generated and is ready to be downloaded to your local device.
The resulting file will have the extension .tar.gz – .tar indicates the file is an archive and .gz indicates the tar file has been compressed. You will need a suitable program to both decompress the archive and extract the files should you wish to access the contents.
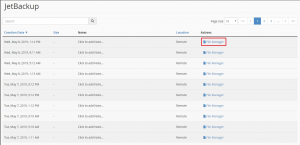
Full account backup – Restore
Click the Restore link net to the time/day you’d like to restore to. Tick the confirmation box and then click Add to Restore Queue. You can view the task queue to see progress of the restore.

Please take care – a full account restore will overwrite every component of your hosting account – your files, databases, mailboxes etc. Be sure this is what you want to do before continuing. If you just want to restore a single file, or database, please see the section below to restore an individual element.
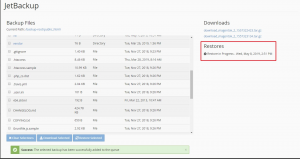
File backups – download or restore
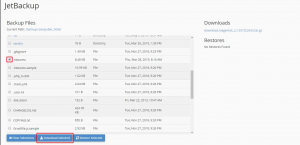
To download or restore specific files, click File Backups.
Click the File Manager link next to the backup date you’d like to download or restore from.

Use the file manager to select files/directories you’d like to restore or download.
File backups – download
Once you’ve selected the files and/or directories you require click the Download Selected button.
and then click the Add to Download Queue button
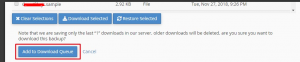
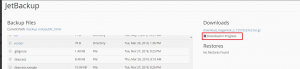
You can see the progress of your tasks either in the task Queue or on the right hand side of the window. Once a download has been generated you’ll see a link you can click on to download to your local device.
The resulting file will have the extension .tar.gz – .tar indicates the file is an archive and .gz indicates the tar file has been compressed. You will need a suitable program to both decompress the archive and extract the files should you wish to access the contents.
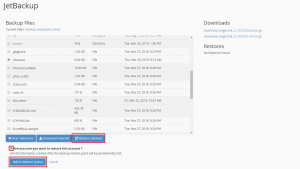
File backups – restore
As for downloads above, select the files and/or directories you require, and then click the Restore Selected button, tick the confirmation box and then click the Add to Restore Queue button.
You can see the progress of your tasks either in the task Queue or on the right hand side of the window. This will change to Restore Completed when it’s finished.
- Restoration is completed .