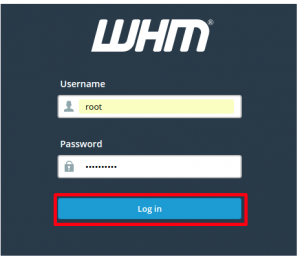
1. Login to your WHM with the root password.
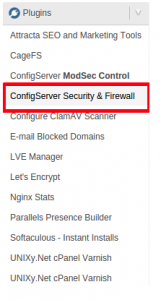
2. Go to the Plugins sections, click on the option ConfigServer Security & Firewall.
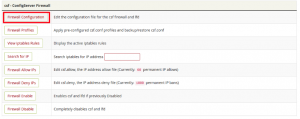
3. Click on the Firewall Configuration button to enter into advanced settings, in the coming window, go to the IPv4 Port Settings section.
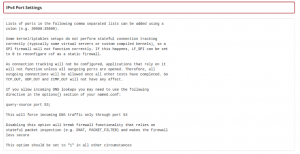
4. Now, edit the fields Allow incoming TCP ports and Allow outgoing TCP ports.
5. Save the changes made by clicking Change.

6. Restart the firewall by clicking Restart csf+lfd.
Opening ports via SSH Firewall/CSF
1. Login to the server using the SSH.
2. Open the configuration file of the CSF as follows.
# vi /etc/csf/csf.conf
3. Add the required ports to the csf.conf file, either under Allow incoming ports or Allow outgoing ports:
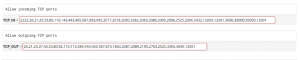
# Allow incoming TCP ports TCP_IN = “2222,20,21,25,53,80,110,143,443,465,587,993,995,2077,2078,2080,2082,2083,2086,2095,2096,2525,3306,5432,12009,12091,3690,30$
# Allow outgoing TCP ports TCP_OUT = “20,21,22,25,37,43,53,80,92,110,113,389,443,465,587,873,1863,2087,2089,2195,2703,2525,3306,3690,12001”
4. Restart the CSF for the changes to take effect. Run the below command to restart the CSF.
# csf -r