This demo assumes you’ve already logged in to cPanel
Now let’s learn how to setup additional FTP accounts 1) Click the FTP Accounts icon
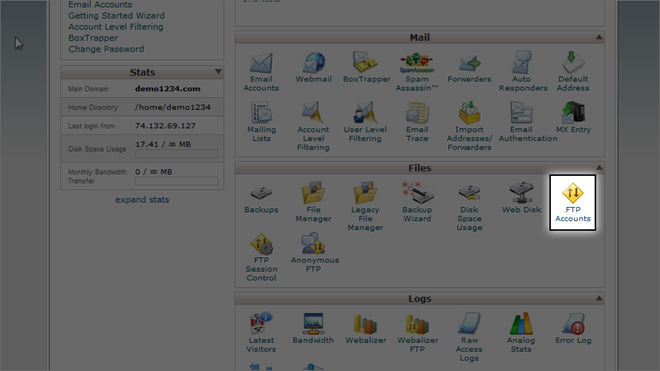
This is where you manage your FTP accounts
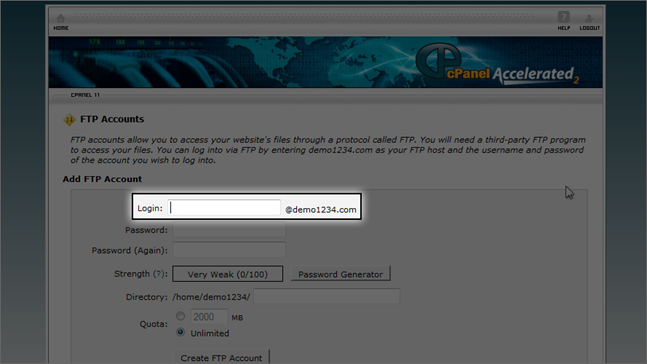
2) To create a new FTP account, enter a new login here…
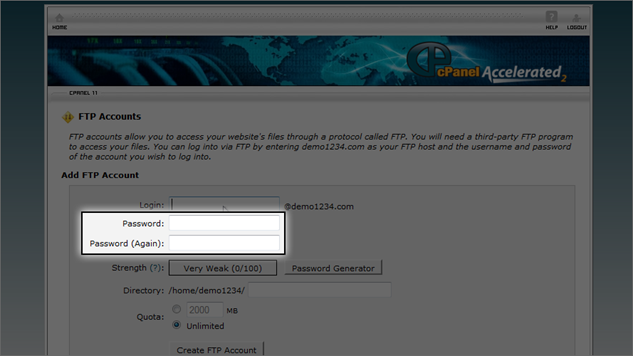
3) … then enter and confirm a password for the new account
4) To give the user access to the entire website, you would delete everything except the forward slash “/”
If you leave /demouser in the directory box, then the user of this FTP account will only have access to the /demouser directory, and all folders under it
You can put a quota limit on this FTP account if you wish 5) When ready, click Create FTP Account
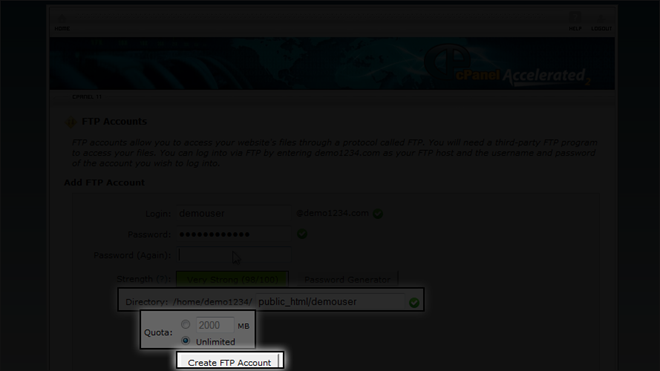
That’s it! The new FTP account has been created
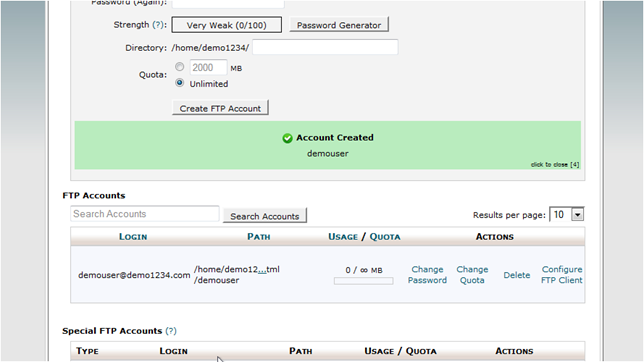
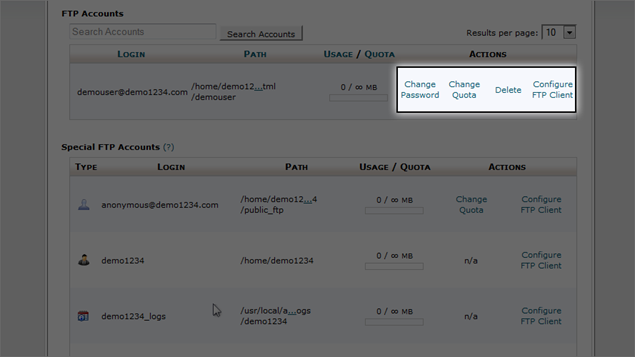
From here you can change the FTP account’s password, change it’s quota, or delete the account altogether
This is the end of the tutorial. You now know how to create additional FTP accounts in cPanel