Although some people use the word Linux to represent the operating system as a whole, it is important to note that, strictly speaking, Linux is only the kernel. On the other hand, a distribution is a fully-functional system built on top of the kernel with a wide variety of application tools and libraries.
During normal operations, the kernel is responsible for performing two important tasks:
- Acting as an interface between the hardware and the software running on the system.
- Managing system resources as efficiently as possible.
To do this, the kernel communicates with the hardware through the drivers that are built into it or those that can be later installed as a module.
For example, when an application running on your machine wants to connect to a wireless network, it submits that request to the kernel, which in turns uses the right driver to connect to the network.
With new devices and technology coming out periodically, it is important to keep our kernel up to date if we want to make the most of out them. Additionally, updating our kernel will help us to leverage new kernel functions and to protect ourselves from vulnerabilities that have been discovered in previous versions.
Ready to update your kernel on CentOS 7 or one of their derivatives such as RHEL 7 and Fedora? If so, keep reading!
Step 1: Checking Installed Kernel Version
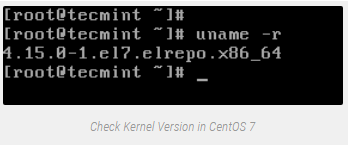
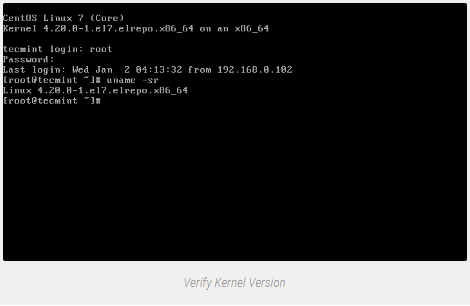
When we install a distribution it includes a certain version of the Linux kernel. To show the current version installed on our system we can do:

The following image shows the output of the above command in a CentOS 7 server:
If we now go to https://www.kernel.org/, we will see that the latest kernel version is 4.20 at the time of this writing (other versions are available from the same site).
This new Kernel 4.20 version is a long-term release and will be supported for 6 years, earlier all Linux Kernel versions were supported for 2 years only.
One important thing to consider is the life cycle of a kernel version – if the version you are currently using is approaching its end of life, no more bug fixes will be provided after that date. For more info, refer to the kernel Releases page
Step 2: Upgrading Kernel in CentOS 7
Most modern distributions provide a way to upgrade the kernel using a package management system such as yum and an officially-supported repository.
However, this will only perform the upgrade to the most recent version available from the distribution’s repositories – not the latest one available in the https://www.kernel.org/. Unfortunately, Red Hat only allows to upgrade the kernel using the former option.
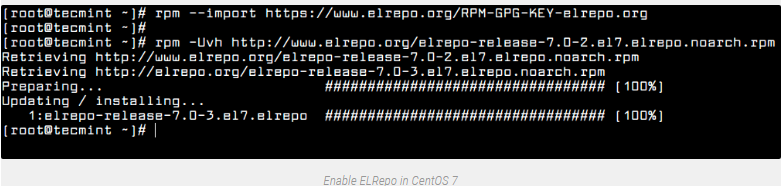
As opposed to Red Hat, CentOS allows the use of ELRepo, a third-party repository that makes the upgrade to a recent version a kernel.
To enable the ELRepo repository on CentOS 7, do:

Once the repository has been enabled, you can use the following command to list the available kernel.relatedpackages:


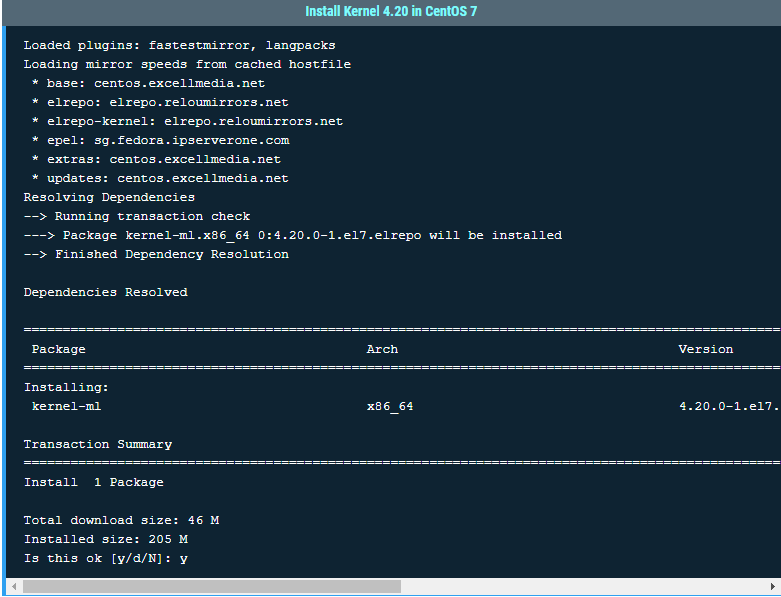
Next, install the latest mainline stable kernel:

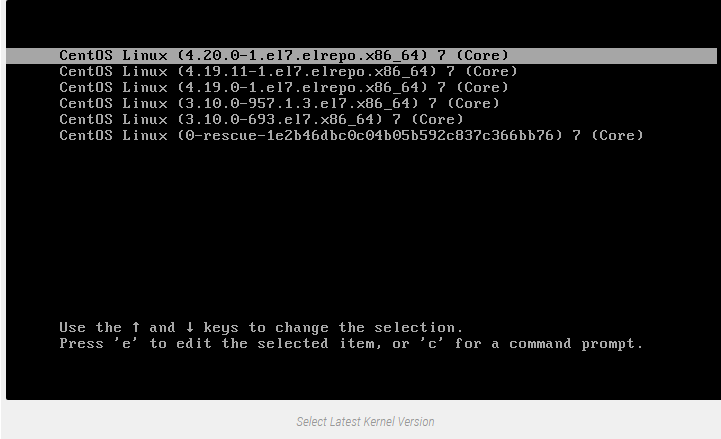
Finally, reboot your machine to apply the latest kernel, and then select latest kernel from the menu as shown.
Login as root, and run following command to check the kernel version:

Step 3: Set Default Kernel Version in GRUB
To make the newly-installed version the default boot option, you will have to modify the GRUB configuration as follows:
Open and edit the file /etc/default/grub and set GRUB_DEFAULT=0. This means that the first kernel in the GRUB initial screen will be used as default.

Next, run the following command to recreate the kernel configuration.

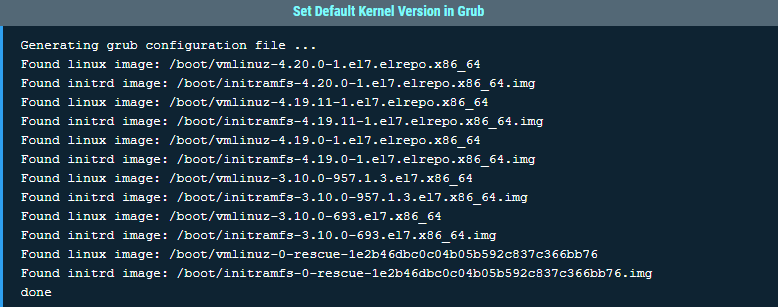
Reboot and verify that the latest kernel is now being used by default.

You have upgraded your kernel in CentOS 7!