The system enables you to send email campaigns, SMS campaigns, and marketing automation messages to your contacts. To do this, you first need to import your contacts into the interface..
Import your contact’s email address(s) as a minimum. However, you may import as many additional data fields (we call them contact attributes) as desired, such as first name, last name, birthday, mobile phone number, etc.
Import methods –
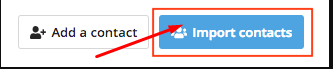
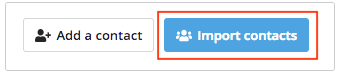
Go to the Contacts page and click over the Import contacts button to see all the options.
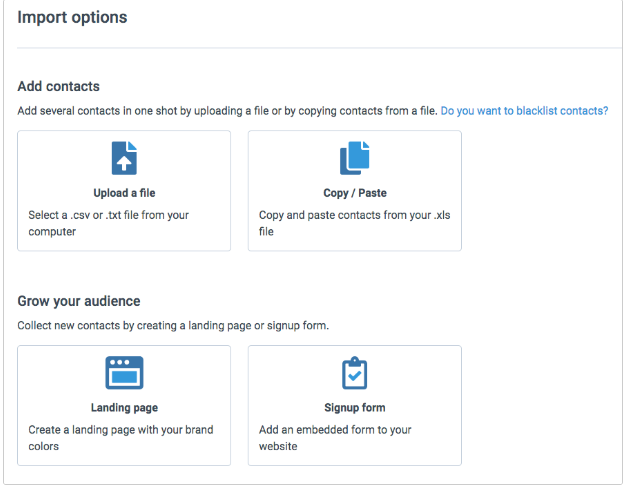
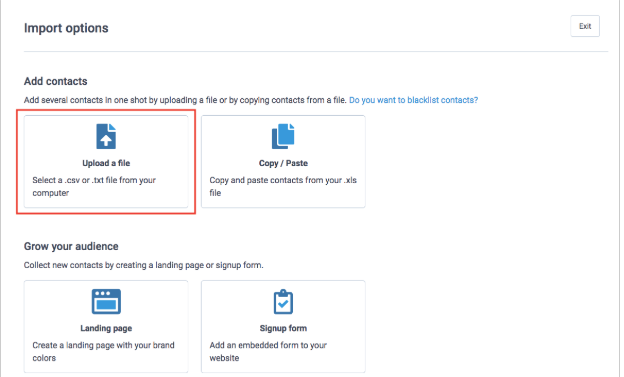
On the next page, choose to add contacts by uploading a file or by copying and pasting them from a spreadsheet.
- create and promote a Landing Page with a built-in subscription form, or
create a subscription Form to embed on your website
1. Importing contacts from a CSV or TXT file
Most users prefer this import method. You may import your contact list formatted as a CSV or TXT file.
Most website CMS (Prestashop, WordPress, etc.) and CRM solutions (Pipedrive, SalesForce, etc.), allow you to download your contact list as a CSV file. Typically, you may import this file directly into the interface. Or, you may download our sample import file, add your contacts to the sample, and import this file.
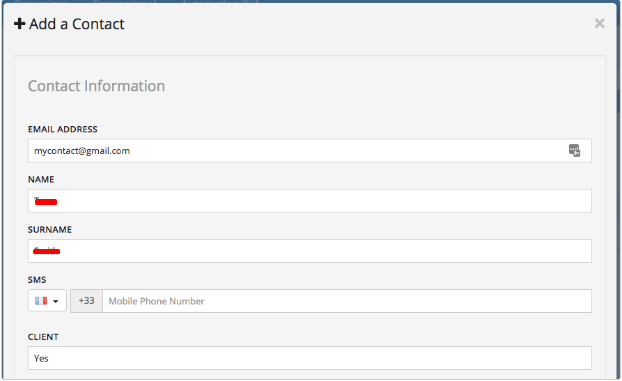
2. Adding contacts manually
You may add contacts manually. This method allows you to add new contacts one by one. For a large import, we suggest you use the import or copy/paste methods.
3. Copying and pasting contacts
To import contacts using the copy/paste method, copy and paste them directly into the empty field in the system. (You can add up to 500 contacts without importing them from a CSV or TXT file.)
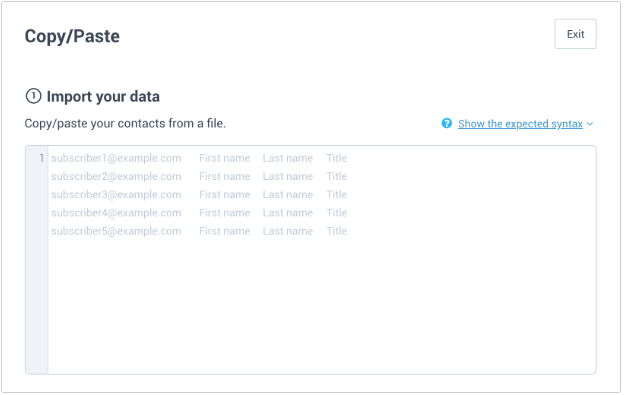
Each contact and its attributes must be separated by either a comma ,, semicolon ;, or tab as shown in the example below.
EMAIL SURNAME NAME SMS
[email protected] Smith John 33123456789
[email protected] Pierce Harry 33111222222
[email protected] Paige Howard 33777888898
Importing contacts
To import contacts, select one of the methods mentioned above. In our example, we’ve chosen to import contacts using a CSV file. To do this, go to the Contacts page.
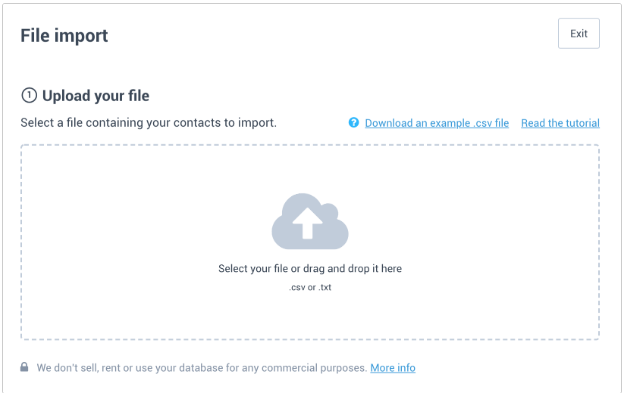
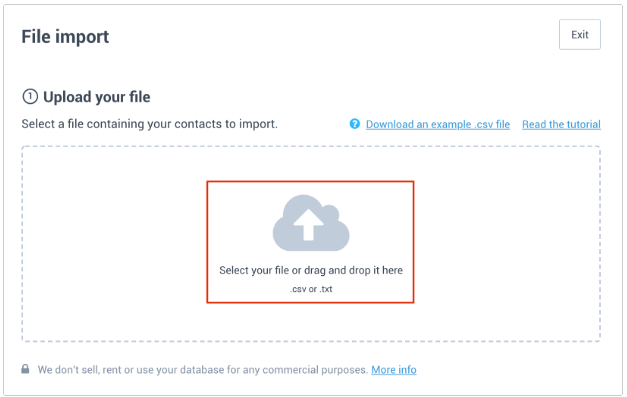
1. Upload your file
Click over the Import contacts button.
Then, click on the desired method. Here we have chosen to import a file.
Click on Select your file and select the desired CSV file, or drag and drop your file within the outlined area.
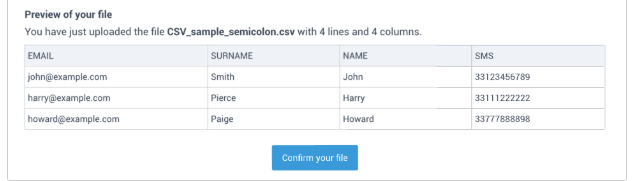
Next, you will see a preview of the contacts and attribute data to be imported from your file. The column headers shown in the preview are the same as the headers in your import file.
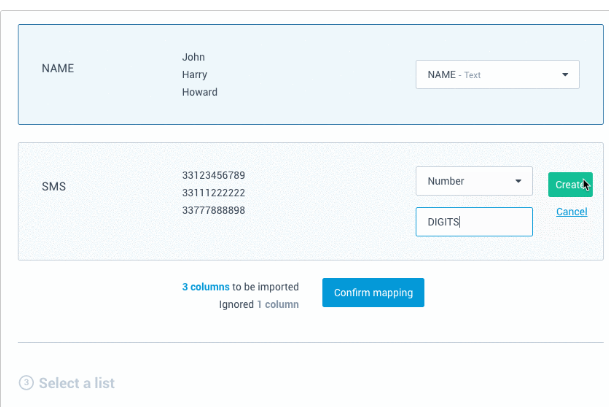
2. Mapping data
In this step, you will indicate how the interface should match the data from your file to your contact list. If you have already defined your contact attributes in your settings, we will attempt to correctly match the data from your file to an existing contact attribute.
To match the data to a different contact attribute or mark the data as “do not import”, click in the Contact attribute drop-down menu and choose your preferred option.

You may also choose to Add a new attribute to define a new contact attribute.
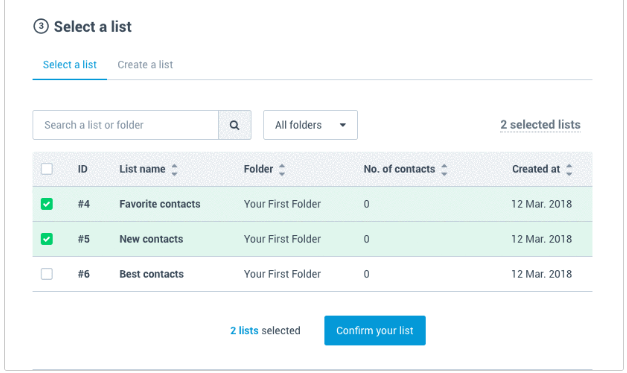
3. Select a list
Now, choose the list(s) to which your new contacts will be added. You may select one or multiple existing lists, or create a new list.
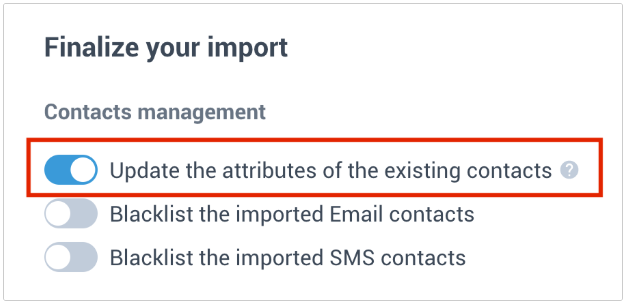
Finalize your import
Before importing your contacts, you will be asked to confirm several important settings.
Default settings
- If any contacts in your import already exist in your contact list, their attributes will be updated to reflect the current import.
- Your email contacts will not be blacklisted.
- Your SMS contacts will not be blacklisted.
Click on the toggle next to each option to choose the opposite of the default setting.
Opt-in agreement
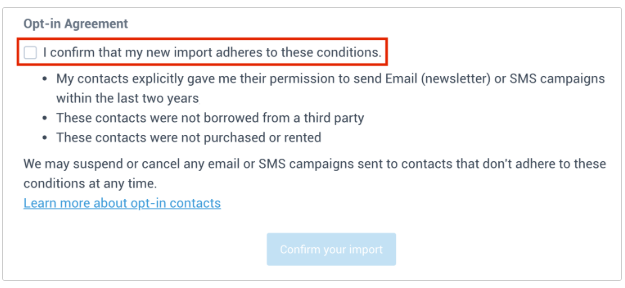
Click Confirm your import to begin your import.
Once completed, a banner will summarize the details of your import, including the number of added contacts, number of duplicates, number of invalid email addresses, etc. You will also receive an email notification confirming this summary.

That’s it.