Gone are the days when HTML was the only potential scripting language. With the oncoming of pragmatic, flexible, and fast scripting language, PHP suits the present days’ web development processes. As PHP versions have closer ties with MySQL database and a simpler learning curve, it is installed by a majority of web hosting servers.
Here, we will guide you with a step by step procedure on how you can install the latest PHP version through EasyApache4 on cPanel server or WHM (Web Host Manager).
Overview of EasyApache 4
The EasyApache 4 is an interface in the Web Host Manager or cPanel Server. This interface allows you to validate, configure, install, and update your PHP, Apache, and other services present on your server. Now, the cPanel, which is based on the server, has the capability to support many versions of PHP.
It is not mandatory for the cPanel Server to use EasyApache 4. However, if you install the PHP version via EasyApache 4, you will be able to conveniently and easily modify your web server.
Steps for PHP Install via EasyApache 4
The steps that will help you to install the PHP version from the WHM Panel or cPanel server are as follows:
Step 1
- Go to the WHM panel or cPanel and log in as root.
- Use the search bar located at the top left of the cPanel/ WHM.
There is a shortcut to do the same.
- Go to the WHM home
- At your left-hand side of your desktop, you will find an options column
- From there, you need to select the option Software
- You need to click on the dropdown button beside the software option
- You can see the option of EasyApache 4

Step 2
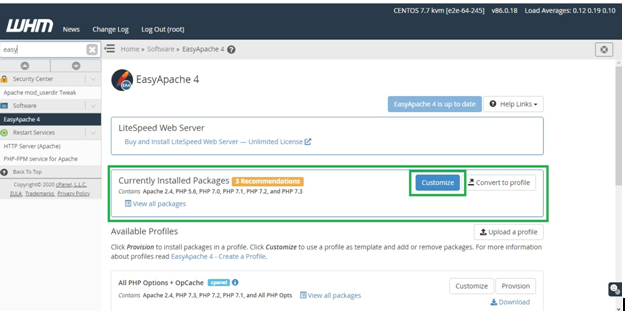
- Once you navigate and click on the EasyApache 4 option, you can see a new page opening beside the options column
- From the existing information, you can see the section “Currently Installed Packages”
- As EasyApache 4 supports PHP versions 7.3, 7.2, 7.1, 7.0, 5.6, 5.5 and 5.4, check for the versions highlighted below the Currently Installed Packages
- Beside the ‘Currently Installed Packages’ option you can see the ‘Customize’ option. Click on it.

Tip:
EasyApache obeys to the php.net supported versions timeline. If you are confused with the versions available for your cPanel server, try following this step.
Step 3
- After selecting the ‘Customize’ option, you will be led to another page with the hosting provider’s name
- Just below it, you will find the option Apache MPM
- From the options beneath it, select ‘PHP Versions’

Step 4
- If you look at the PHP Versions menu, you can choose between the different PHP versions that you want to install. As you will be working on the cPanel server panel, it will check for the currently used PHP version or any PHP extension.
- Added to this, check if any of your domains are using any of the PHP extensions. If such a function runs in the background, we advise you to choose the PHP x.x and Extensions button in addition to choosing your preferred PHP version.
- When you have chosen your preferred PHP version and want to install it on your server, you need to click on the ‘Next’ option
For instance, if you want to install both the PHP version and its extensions, select it and click on next (as shown in the image below)
However, if your preference is limited to only the PHP version, select the option ‘PHP 7.3 Only’ (example)
Step 5
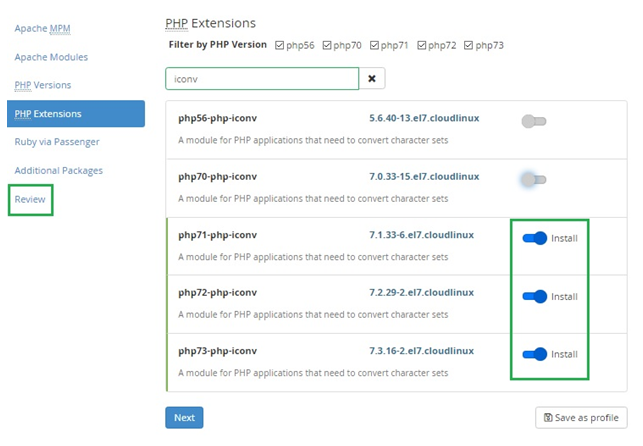
- In this step, you need to navigate to the “PHP Extensions” menu, which is just below the PHP versions option. Here you can see the different PHP extensions.
- Select your preferred PHP extensions
- If you take a look at the cPanel, the EasyApache 4 has already chosen a few of the necessary PHP Extensions. This selection is based on the previously installed versions (if any) present by default on your server.
Suppose, you want to add the iconv extension, write ‘iconv’ in the search field and press Enter
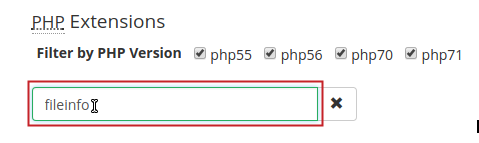
However, if you are installing the PHP version for the first time, you can start with the search box
Write ‘fileinfo’ in the search field and press Enter
You need to confirm the installation of the PHP extension by clicking on the toggle button, which is next to the PHP version
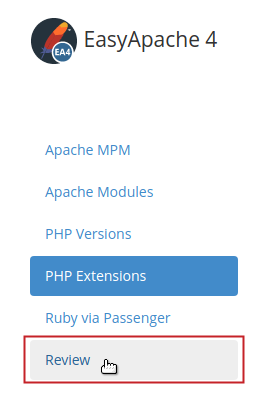
Step 6
After you are assured of your selection, click on Review
Step 7
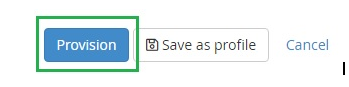
This is a confirmation step. Below the “Please review the following list of packages you are about to install by provisioning this profile” option, you can find the Provision button.
Thoroughly go through your selected options and click on the button
Step 8
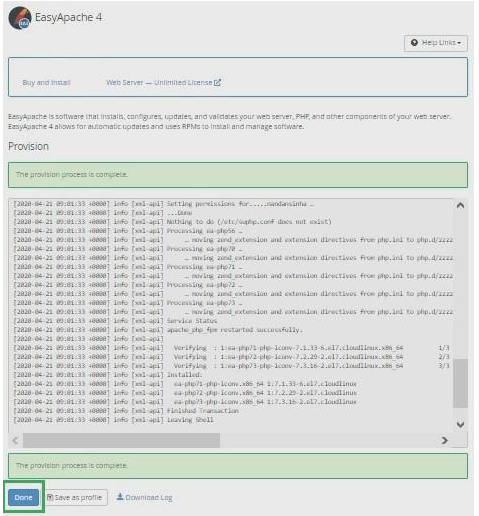
Once the PHP version and extension are installed, a message will pop up on the screen – “The provisioning process is complete”
To complete the installation task, click on the ‘Done’ button.
The main installation process of the PHP version is complete.
However, the entire process is not complete.
To do so, you need to assign the installed PHP version to your cPanel account or Domain.
Step 9
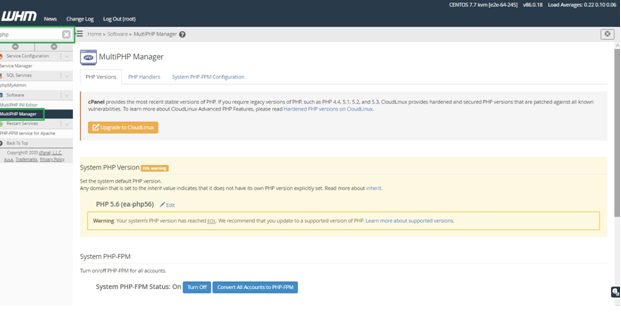
The MultiPHP Manager of cPanel assists you to maintain the hosted Domains or cPanel accounts PHP configuration. It does in the form of a per-domain basis.
If you want, you can set the default Global PHP Version present in your system for all cPanel accounts. With the same option you can:
- Adjust PHP-FPM pool options
- Enable PHP-FPM on a per-domain basis
- Enable PHP-FPM globally
You can do so by following this step
WHM/ cPanel > Software >MultiPHP Manager
Step 10
Now, select your preferred account or domain by clicking on the drop-down menu. You can find it in the PHP Version column
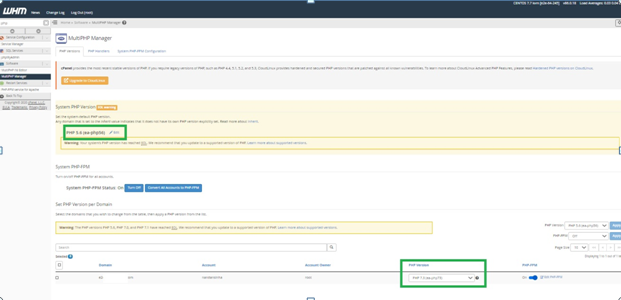
Step 11
This is the final step where you need to examine the complete installation procedure. Select the installed PHP version and finally press Enter.
Final words
The process might seem a little too daunting for anyone with little or no knowledge in coding. Ask your developer, these detailed steps might be simple to perform.
We hope this information did help you to get a better idea and follow the correct instruction for successful installation completion.