You have probably heard of cPanel if you have an online presence or are working to establish one. It comes free of charge with many web hosting plans offered by websites. The issue is that many people are unaware of what cPanel is and what it can achieve. Suppose you are a new small business owner attempting to establish your reputation. You are aware that starting your company online is the most excellent method to develop a presence, but you are unsure of where to begin. In this situation, cPanel is useful. A browser-based control panel used by website owners to manage their sites is just what cPanel. Now, do you know what that means? Running a website is simple for anyone due to cPanel. The control panel in your browser has all your tools, so you don’t require the website administrator’s tech teams. You can quickly manage your domain names, backups, databases, email, and other things from the cPanel panel, where you can install content management systems like WordPress. Here you will see clear detail about the cPanel control panel and how you can login hosting:
About cPanel:
cPanel is a popular control panel that offers a user-friendly web-based interface for managing your web hosting server. It is particularly popular among shared hosts since most inexpensive hosting companies offer it as the default option. You would require technical expertise to manage your websites and server without cPanel. But with cPanel, you can make adjustments using a graphical user interface without any technical expertise.
Features of cPanel control panel:
Email:
You can set up mailbox quotas, establish new email accounts, view and amend your current accounts, edit your MX records, and more with cPanel.
Domains:
You may configure new domains to your account, set up parked domains, establish sub domains, set up redirects, and much more under the domains section of cPanel.
File Management:
You can back up your cPanel account, access and modify files stored in your account, see your disc usage, and create and manage FTP accounts via the files area of cPanel.
Databases:
You can do a lot of things here, such as creating new databases, configuring MySQL for remote access, using phpMyAdmin to access the databases, and more.
Very Secure:
Security is one of the most important aspects of any software or product. cPanel provides ideal protection. Additional security features include IP address rejection and password-protected files.
Secure server administration:
This help maintains and resolves server issues, such as restarting the server through SSH, automating account suspensions, performing system backups, and restoring account access. Programs on the command line can access this service on dedicated and VPS servers.
How can you create email accounts on cPanel?
If you want to create an email account on cPanel, you need to follow the below-mentioned steps:
Step 1:
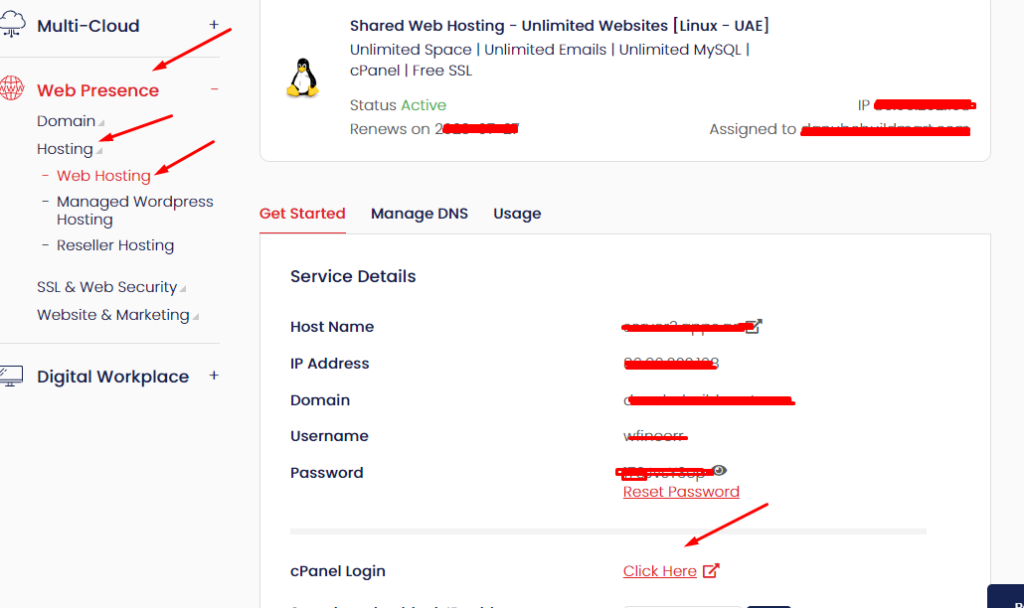
Login to CP : https://platform.buzinessware.com/
The primary thing you need to do is login to your cPanel. You need to go to your client area and click services. Then you will find My services. After clicking that, you will find active and then click login to cPanel.
Step 2:
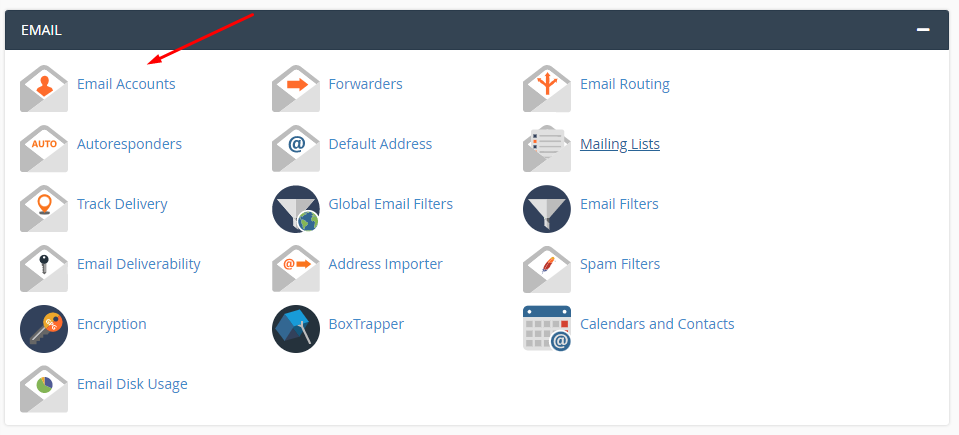
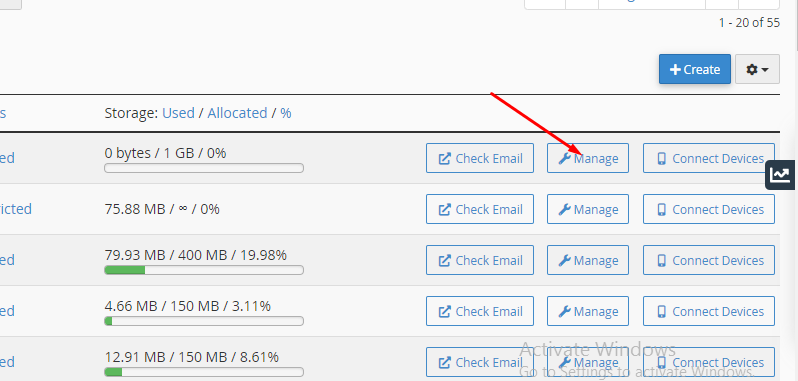
Once you click login to cPanel, you will find a mail section, and there you can click Email accounts.
Step 3:
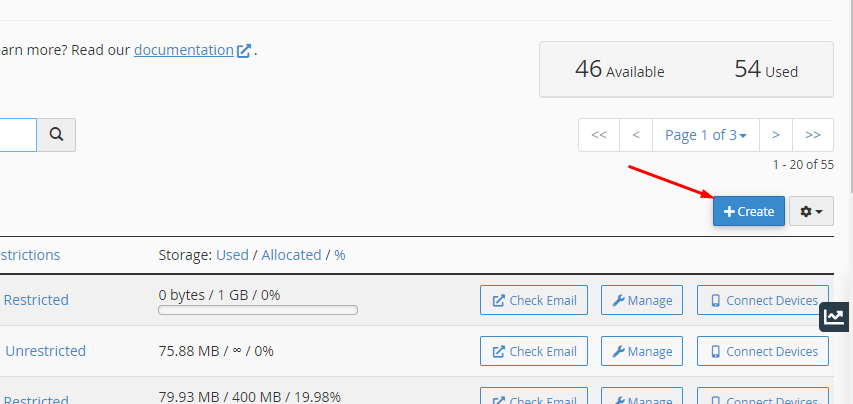
After entering into email accounts, you can click the Create button in your system’s upper right.
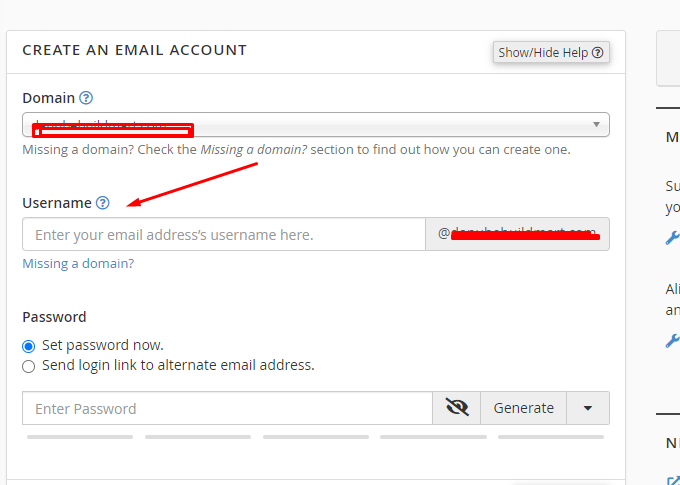
In the Username field, you can type the name you need, and then you can select the domain name from the adjacent drop-down menu you find on the page. Particularly you need to note that the email name shadow is kept back and cannot be used for an email address.
Step 5:
Select the box that reads set password immediately. If you want a randomly created password from the system, click the Generate button or enter the desired password twice in the Password boxes. You will need the password to access the email address, so copy it. Also, you have to note that do not click generate button if you enter your password.
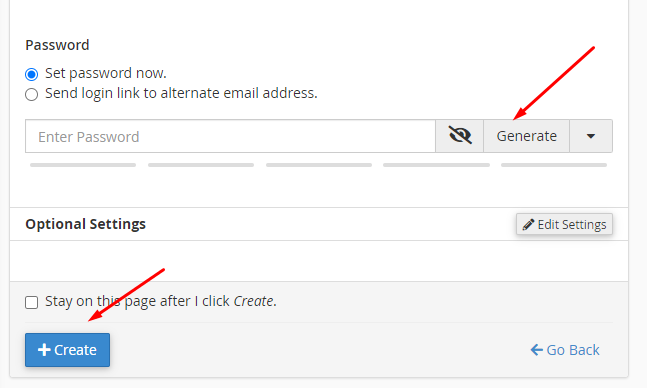
Step 6:
You can choose Mailbox Quota from the advanced settings menu.
Step 7:
Finally, you can click the Create button to finish the email account creation.
Email management on cPanel
You can give them a more professional appearance when sending business emails by adding your domain name to the email address, such as [email protected]. For adding and managing these email addresses, visit the Email area of the cPanel dashboard. As you can see the version of cPanel. The screenshot has a good amount of options displayed. Some of them consist of:
- Email Accounts.
- Autoresponders.
- Forwarders.
- Email Routing.
- Spam Filters.
The Email Accounts link is the most significant part. You add and manage your company email addresses here. Click on the Email Accounts button to generate emails for your company, as you already own the domain associated with this cPanel. Type a username for your email address after selecting the Create button. Additionally, you can change options like your password, storage capacity, and folder creation.
Once you know how you can login to email in the cPanel control panel, you can go with further details in the email of cPanel. Then you can access anything once you complete all the processes by considering the feature of the cPanel.