- Identifying the domain to be added
Once you know the email address for your child account’s sender, you need to identify its domain. The text that comes after “@” in the email address is the domain that needs to be added.
Let’s look at an example:Your child account wants to add the sender “[email protected]”. The domain to be added to your list of verified domains is “hellodomain.com”.
Note: Senders associated to non-professional domains like @gmail, @yahoo, @outlook email addresses are not supported for child accounts. Because your child accounts don’t own the domain, the domain is not able to be verified.
- Adding the sender’s domain to your parent account
From your parent account, click on Senders & IP in the top right hand menu.- Click on the Domains tab.
- Click on + ADD A NEW DOMAIN button.
In the pop-up window that appears, type the domain name for the sender of your child account and click on Save.
- Creating the sender on the child account
Now your child account will be able to add any sender with this domain name (@hellodomain.com) from their accounts.
To add a sender on the child account, the user for your child account would go to Settings and click Configure under “Your Senders”.
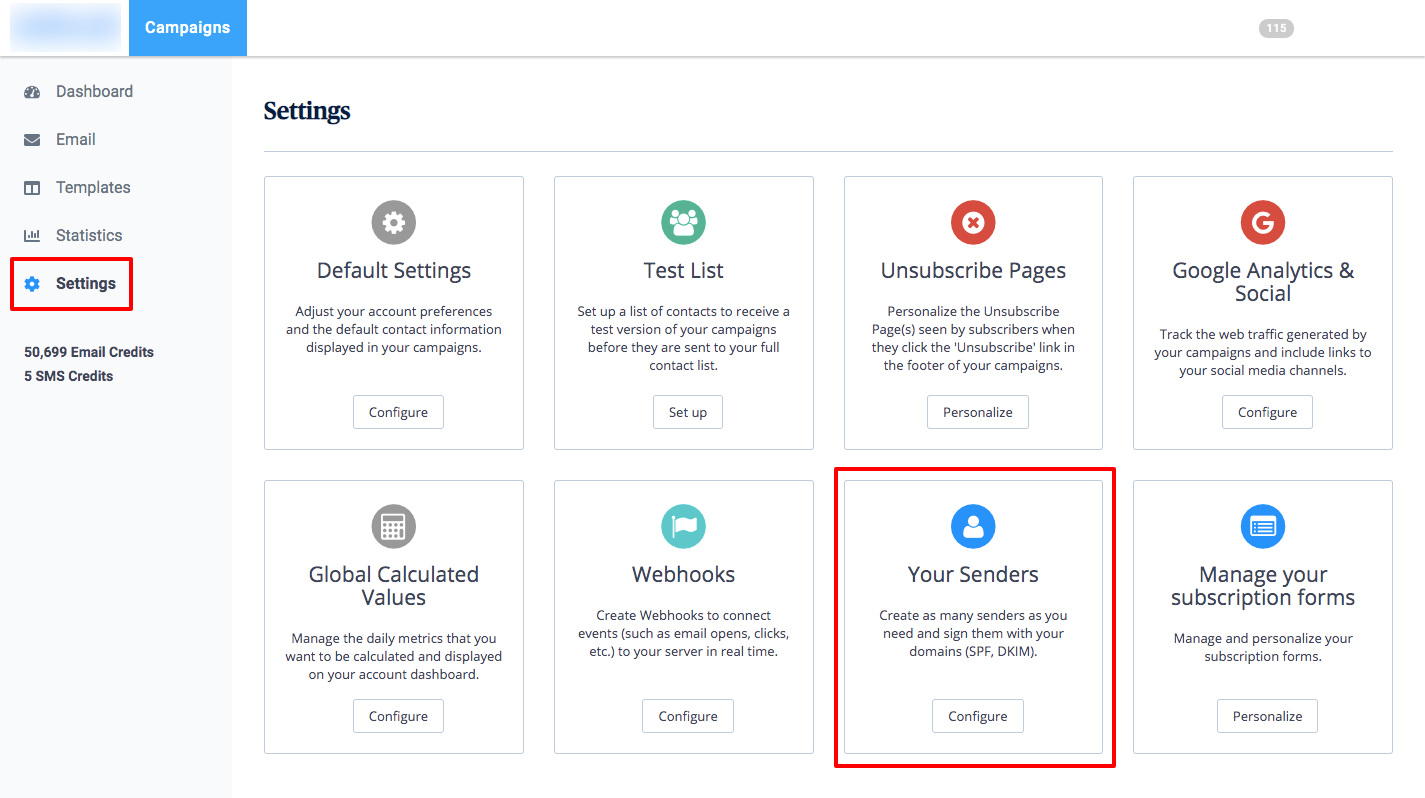
- Then click on + Add a Sender.
- Type
- Sender Name
- From Email
- Associate the sender with a dedicated IP
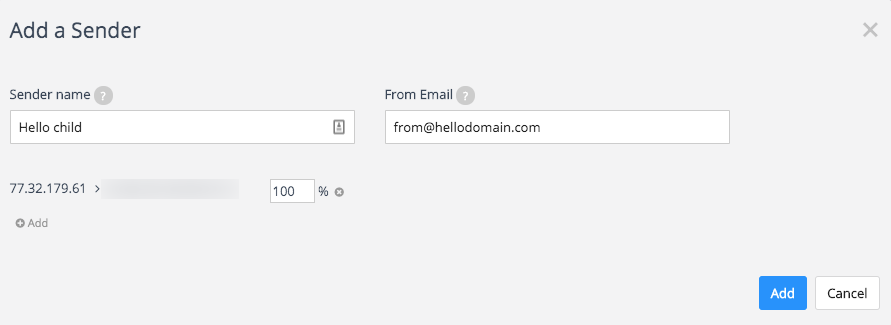
This would add the sender.